How to Change DPI in Photoshop Without Losing Quality
How do you change DPI in Photoshop?
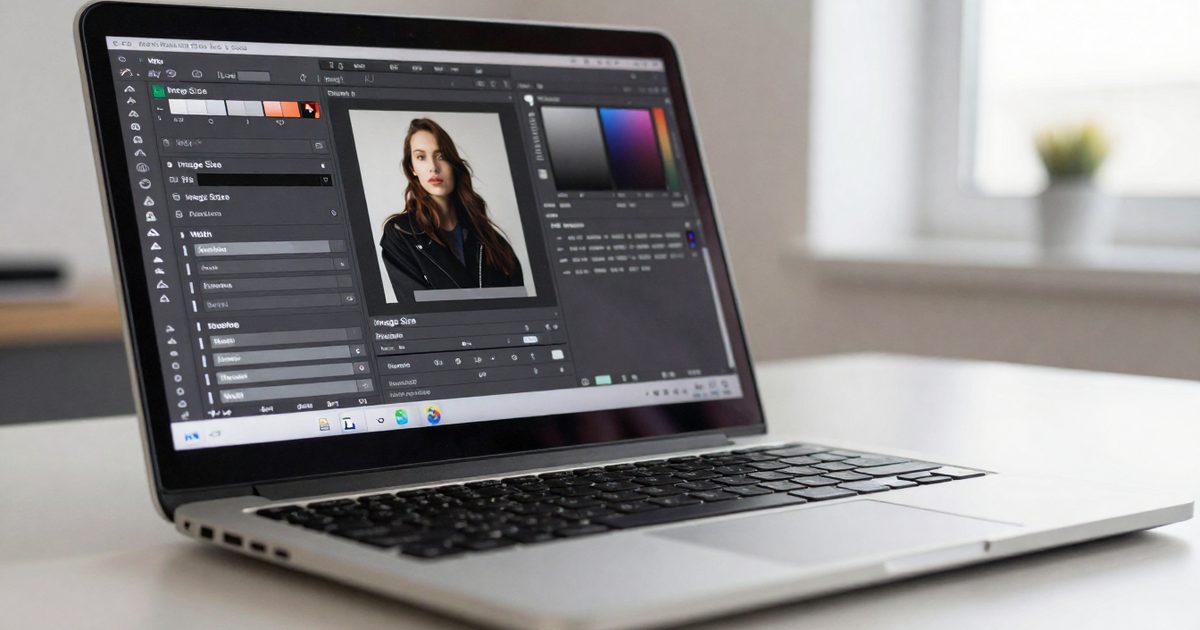
You change DPI in Photoshop with Image > Image Size, by unticking Resample and typing a new number in the Resolution field. The pixel dimensions stay fixed, and Photoshop recalculates the width and height in Document Size instead.
Here are the 4 steps:
- Open your image and choose Image > Image Size.
- Untick Resample. Adobe’s help explains that with Resample off, the pixel dimension fields are unavailable and only the physical size or the pixels/inch value can change (Adobe: Image size, resolution, and resampling in Photoshop).
- Type the new value in Resolution (pixels/inch). Check that the unit menu beside it matches what you want.
- Click OK, then save a copy of the file.
Adobe’s own example shows the maths: a 400 x 400 pixel image at 100 ppi measures 4 x 4 inches, and setting it to 2 x 2 inches without resampling raises the resolution to 200 ppi. Doubling the print size halves the resolution, because the same pixels spread over twice the distance.
Photoshop labels the field pixels/inch, so it’s the same number people call dots per inch (DPI). The difference between the two terms is covered in DPI vs PPI.
Worked example for a 24 megapixel photo
A camera file that’s 6,000 x 4,000 pixels holds 24 megapixels (6,000 x 4,000 / 1,000,000). With Resample off, each resolution you type gives a different print size, and the file itself doesn’t change:
| Resolution | Print width | Print height |
|---|---|---|
| 150 PPI | 40 in | 26.67 in |
| 240 PPI | 25 in | 16.67 in |
| 300 PPI | 20 in | 13.33 in |
You’ll notice the trade. Every time the resolution goes up, the print gets smaller, because the same 6,000 pixels must fit into fewer inches. If a print shop needs 300 PPI at 24 inches wide, this file can’t deliver it without resampling, since 24 x 300 = 7,200 pixels and you’ve only got 6,000.
Change DPI without changing pixels vs resample
Changing DPI with Resample off keeps every pixel, while turning Resample on adds or removes pixels. The first is a labelling change, and the second is an edit to the image data.
Take a photo that’s 3,000 x 2,400 pixels. The pixel math is simple: pixels divided by DPI equals inches. Here’s what the same file prints at with Resample off:
| Resolution | Print width | Print height | In centimetres |
|---|---|---|---|
| 72 PPI | 41.67 in | 33.33 in | 105.8 x 84.7 cm |
| 150 PPI | 20 in | 16 in | 50.8 x 40.6 cm |
| 300 PPI | 10 in | 8 in | 25.4 x 20.3 cm |
The file never changes in any of those rows. You’d get the same result from the pixels to print size calculator, which runs this division for any pixel count.
Resample on is a different job, and it’s the setting people trigger by accident. If you ask for 300 PPI at 20 x 16 inches, Photoshop has to build 6,000 x 4,800 pixels from 3,000 x 2,400. It estimates the new pixels from the old ones, and it can’t recover detail the camera never recorded. Adobe’s advice for print work is to change the dimensions and resolution first without resampling, then resample only as necessary (Adobe: Set image size and resolution). If you do need more pixels, how to increase image resolution explains your options.
The most common mistake: typing 300 with Resample on
Suppose you’ve got a 1,000 x 800 pixel image at 72 PPI, and you tick Resample, then type 300 without changing the width. Photoshop doesn’t relabel the file. It scales the pixels by 300 / 72, which is 4.17 times in each direction, so you’d get roughly 4,167 x 3,333 pixels. That’s 17.4 times as many pixels as the original, and almost all of them are estimates. The file gets heavier, and it doesn’t get sharper. Untick Resample first, and you won’t make this mistake.
How do you set DPI for a new document?
You set DPI for a new document in the New Document dialog by choosing a size and typing the Resolution before you click Create. Adobe’s preset guide describes Width and Height with a unit menu, and Resolution in pixels per inch or pixels per centimetre (Adobe: Create documents using presets in Photoshop).
Follow these steps:
- Choose File > New.
- Pick a category tab such as Photo, Print or Web, then pick a preset or enter your own size.
- Set the unit for Width and Height (pixels, inches or centimetres).
- Type your Resolution, for example 300 pixels/inch.
- Click Create.
Pick the resolution before you design, because it’s far easier to start right than to fix a file later. A 6 x 4 inch card at 300 PPI is 1,800 x 1,200 pixels, while the same card at 72 PPI is only 432 x 288 pixels. Starting at 72 and raising it later forces Photoshop to invent pixels. The inches to pixels converter gives the target size for any dimension.
How do you export at a set DPI?
You export at a set DPI by setting the Resolution in Image Size before you export, then using Export As for the file type you need. The exported pixel size follows the document pixel size.
Adobe’s Export As documentation describes the output through Width, Height, Scale and Canvas Size, with PNG, JPG, GIF and SVG as formats (Adobe: Fine-tune export settings in Photoshop). Scale multiplies pixel dimensions, so a 2x export of a 1,800 x 1,200 pixel document is 3,600 x 2,400 pixels. A print shop that asks for “300 DPI at 6 x 4 inches” wants 1,800 x 1,200 pixels, and that’s what counts.
Check the result by reopening the exported file and looking at Image > Image Size. Don’t trust the number alone. Divide the pixel width by the print width in inches, and you’ll know the real density. If it’s lower than the printer asked for, go back to the source document, because it’s the pixels that count and the label doesn’t.
What DPI should you choose?
Choose 300 PPI for prints viewed up close, 150 PPI for larger prints, and 72 to 96 PPI for screens. Adobe’s resizing reference lists 72 to 96 PPI for web and screen display and 150 to 300 PPI for standard printing (Adobe: Resize images in Photoshop).
Use these rules:
- Photos and flyers at arm’s length: 300 PPI. A 4 x 6 inch print needs 1,200 x 1,800 pixels. The 300 DPI page lists more sizes.
- Posters viewed from farther away: 150 PPI sits inside Adobe’s 150 to 300 PPI print range. A 24 x 36 inch poster needs 3,600 x 5,400 pixels at 150 PPI.
- Web graphics: CSS treats 1 inch as 96 pixels, so DPI doesn’t change how a browser displays the file. Pixel dimensions do.
If you don’t know the final size yet, open the DPI calculator, enter your pixel width and the print width, and it returns the DPI. The FeetToPixels homepage links every size converter in one place. That’s the whole process, and it won’t take you more than a minute once you’ve picked the number.
For banners, work in inches. A 6 ft banner is 72 inches wide (6 x 12), and at 100 PPI it needs 7,200 pixels across.
Frequently asked questions
Does changing DPI reduce quality?
No, if Resample is unticked. The pixel count stays fixed and only the print size and the stored resolution value change. Quality drops only when Resample is on and you shrink or enlarge the pixel dimensions.
Why does Photoshop say 72 PPI?
Photoshop shows the resolution value stored in the file, and many web and screen images carry 72 PPI. Adobe lists 72 to 96 PPI as the range for screen display, so the number is a label for the file, not a limit on its pixels.
Can Photoshop work in feet?
No. Adobe's parameter reference lists pixels, inches, cm, mm, points and picas as units for width and height. Convert feet to inches first (1 ft = 12 in), then enter the inches or the pixel count.
Is 300 PPI enough for a print?
Yes, for prints viewed up close. Adobe lists 150 to 300 PPI for standard printing, and 300 PPI gives you 3,000 pixels for every 10 inches of print width.
Does the resolution field change the pixel dimensions?
No, not with Resample off. Pixel width and height stay locked, so a new resolution value only changes the Document Size in inches or centimetres.